 REINFORM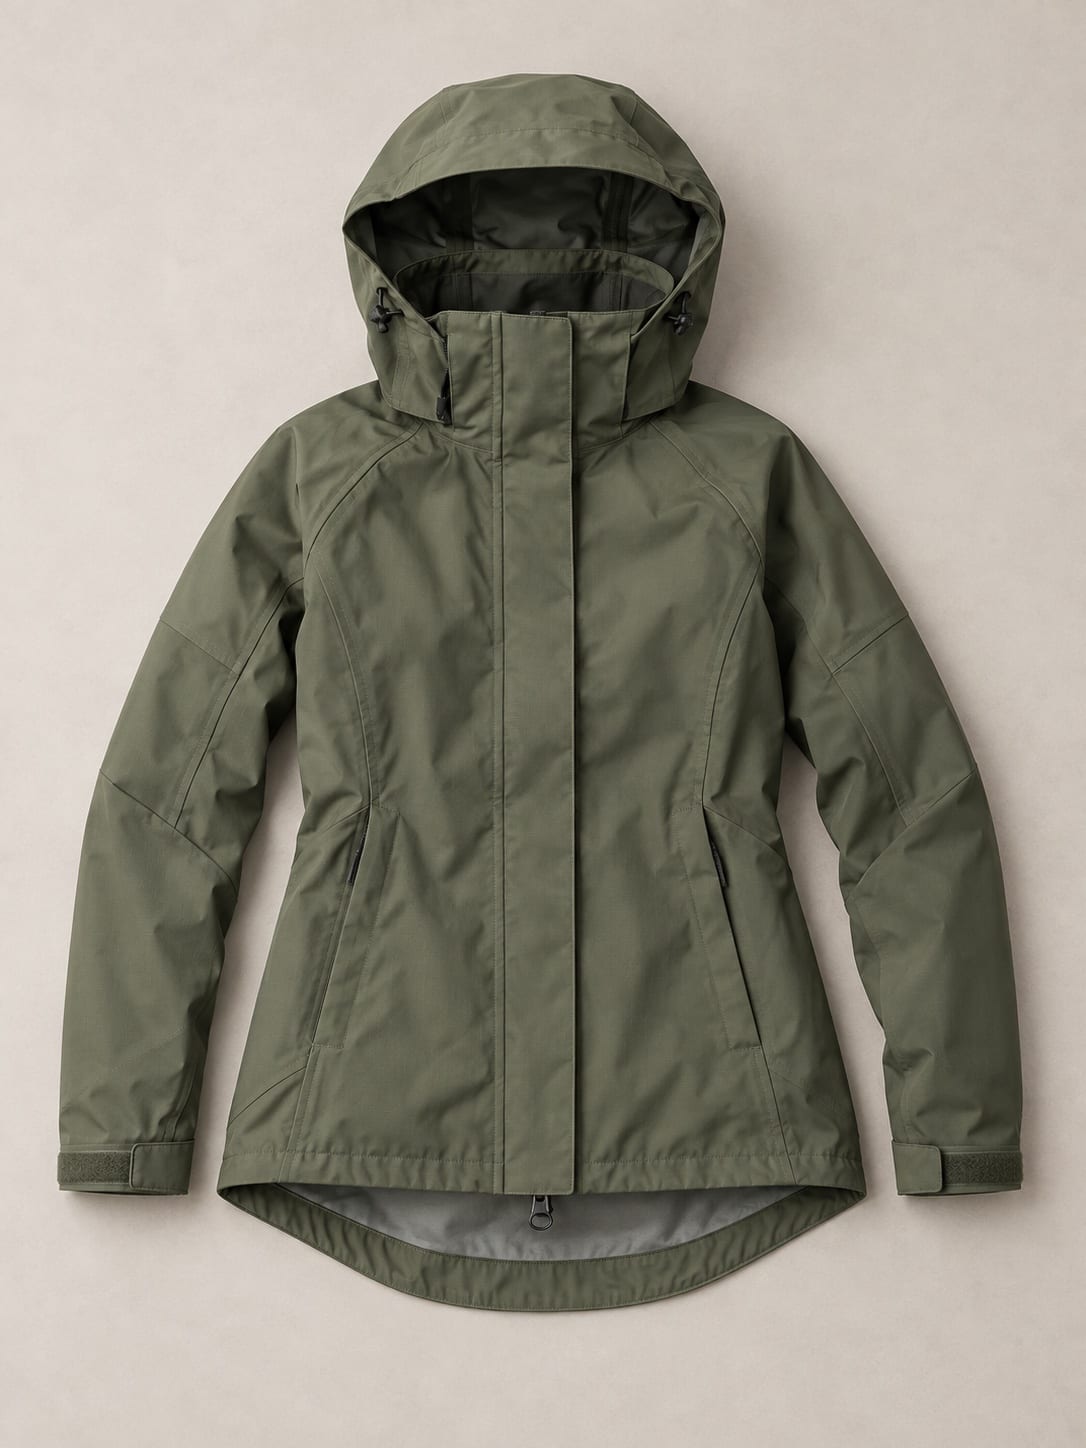
Specify Rain Protection at Every Opening
Lightweight rain riding shell:
the private label buying guide.
Private label rain riding shells for equestrian brands: seams, zips, mounted coverage and testing of the agreed waterproof target. Request an OEM quote.
A development direction for your brand. Final material, construction and performance by specification and sample approval.START WITH
THE RIDER.
For wet-climate equestrian brands, trail and schooling ranges, team outerwear and retailers needing a packable protective layer specifically cut for riding.
Product development context
A rain shell’s performance is determined by the whole garment, including fabric, seams, zips, hood, cuffs, pockets and hem. A waterproof material does not make an unsealed jacket waterproof, and a test value should never be invented. Buyers must define expected exposure, duration, riding posture and whether the shell fits over an insulated layer or safety vest. Lightweight design introduces another tradeoff: lower bulk can reduce durability or increase cling. Sampling should include controlled water review, mounted movement and repeated care according to the proposed instructions.
Claim architecture
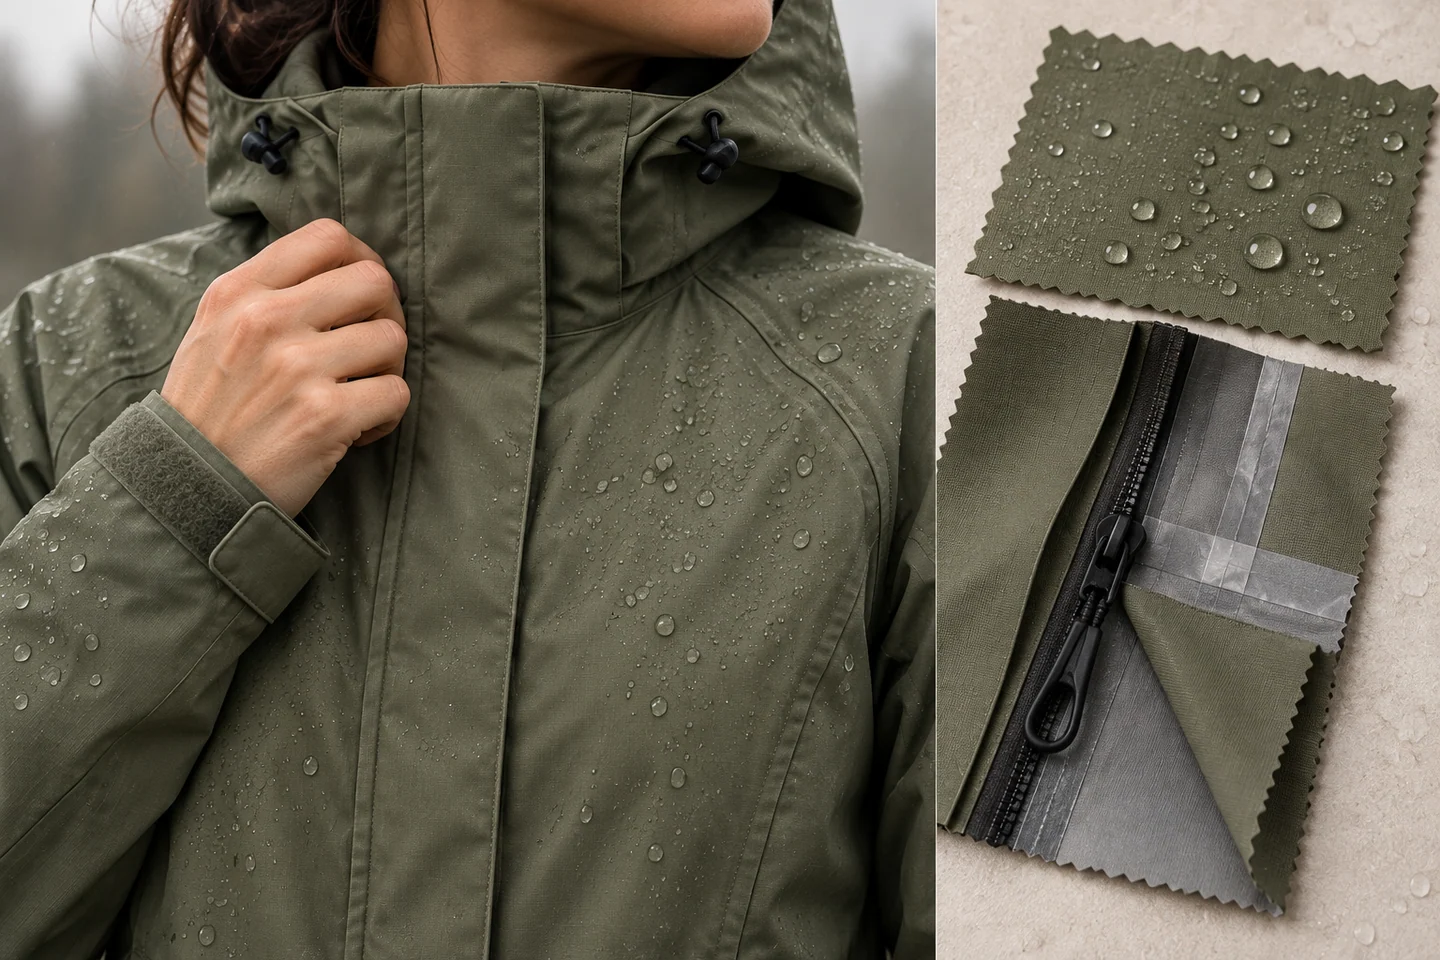
Define whether the goal is water-repellent, showerproof or waterproof and specify the supporting test and acceptance level. Map every seam and opening that needs sealing or protection; avoid transferring a fabric rating directly to the garment.
Mounted coverage
Set front, side and dropped-back lengths on the horse. The shell should protect the waistband without sitting on the saddle or forcing the front zip into the pommel; vents or two-way opening may be needed.
Moisture inside
Rain protection can increase internal condensation. Determine whether pit zips, back vents, mesh lining or pocket venting fit the price and weather brief, then evaluate airflow and water entry at those openings.
THE FABRIC
SETS THE FEEL.
Compare material directions against your rider, climate and care expectations. Request the actual fabric specification and evidence for any performance claim.
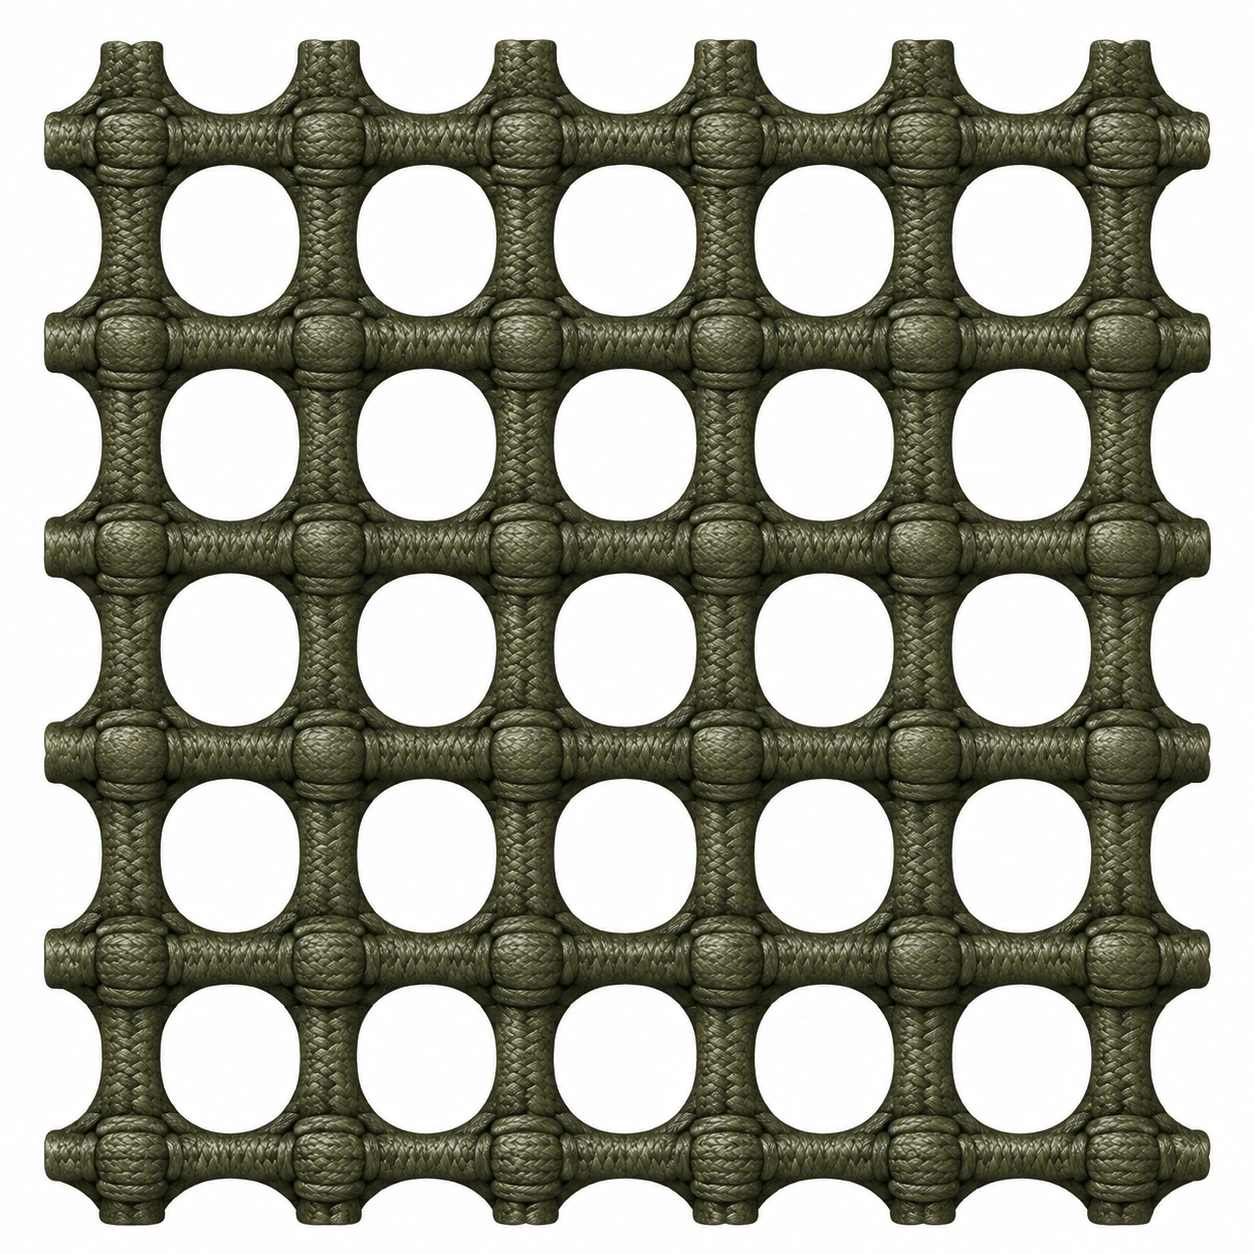
| Material direction | Why consider it | What to verify |
|---|---|---|
| Light laminated shell | A coated or membrane-backed woven can target rain protection at relatively low weight. Face, laminate and finish all affect hand, noise, stretch and care. | Obtain exact production-material data and test agreed water, air, abrasion, colourfastness and dimensional-change requirements before making claims. |
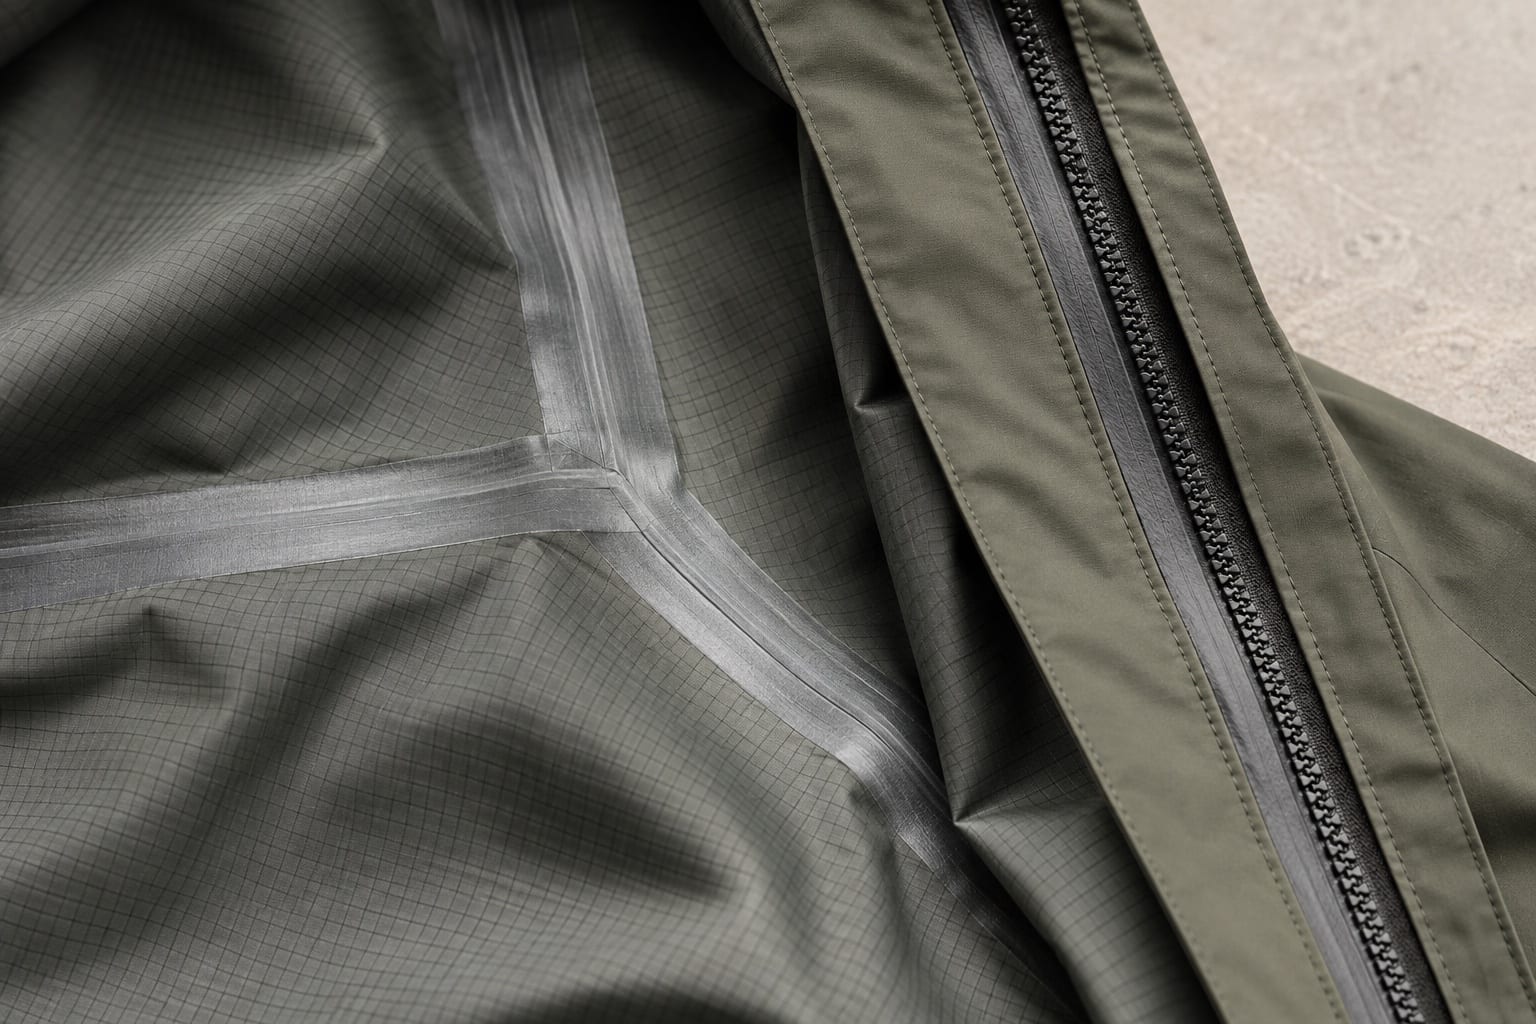
| Seam-sealing tape system | Compatible tape can close stitch holes on designated seams, but width, adhesive, temperature and curved construction influence integrity and appearance. | Approve taped seam samples and finished garments, inspecting adhesion, skipped zones, leakage and delamination before and after proposed care. |
| Mesh or light lining | A lining can reduce clammy contact and conceal internal seams, while adding weight and possible water-holding areas. | Check snagging, drying, colourfastness, mobility and whether lining construction obstructs vents or seam-seal inspection. |
These are sourcing comparisons, not a list of stocked or certified fabrics. Confirm composition, weight, finish, availability and testing with the material selected for your project.
 A CLOSER LOOK / DEVELOPMENT CONCEPT
IT’S IN
THE DETAILS.
Sealed seam map
Identify all critical seams and tape requirements in the specification, with inspection access and curved-area tolerances.
Protected front zip
Use a suitable zip with storm guard, chin protection and mounted lower opening according to the target performance.
Secure hood
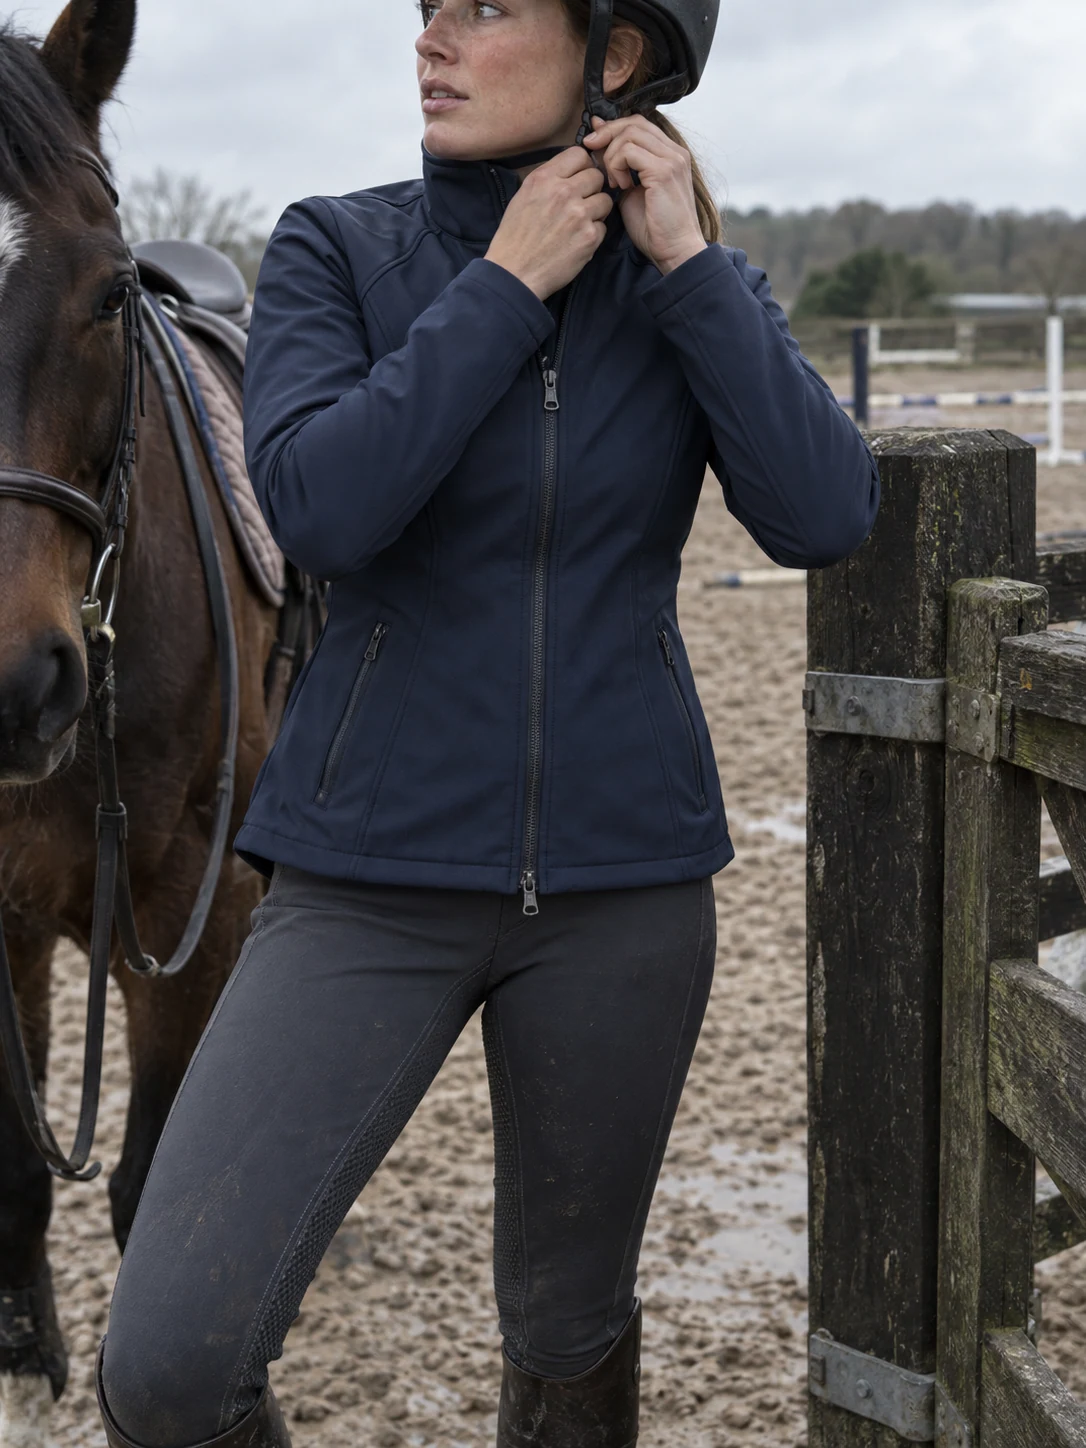
Shape and adjust the hood for intended helmet use, controlling drawcords and preventing loose components near tack.
Drain-aware pockets
Protect entries, manage pocket-bag water and place storage for riding access without creating leak points at stressed seams.
FROM THE BRIEF.
INTO THE WORKROOM.
Layers, movement and hardware belong in one development conversation. Resolve them on the sample before bulk.
Explore our factory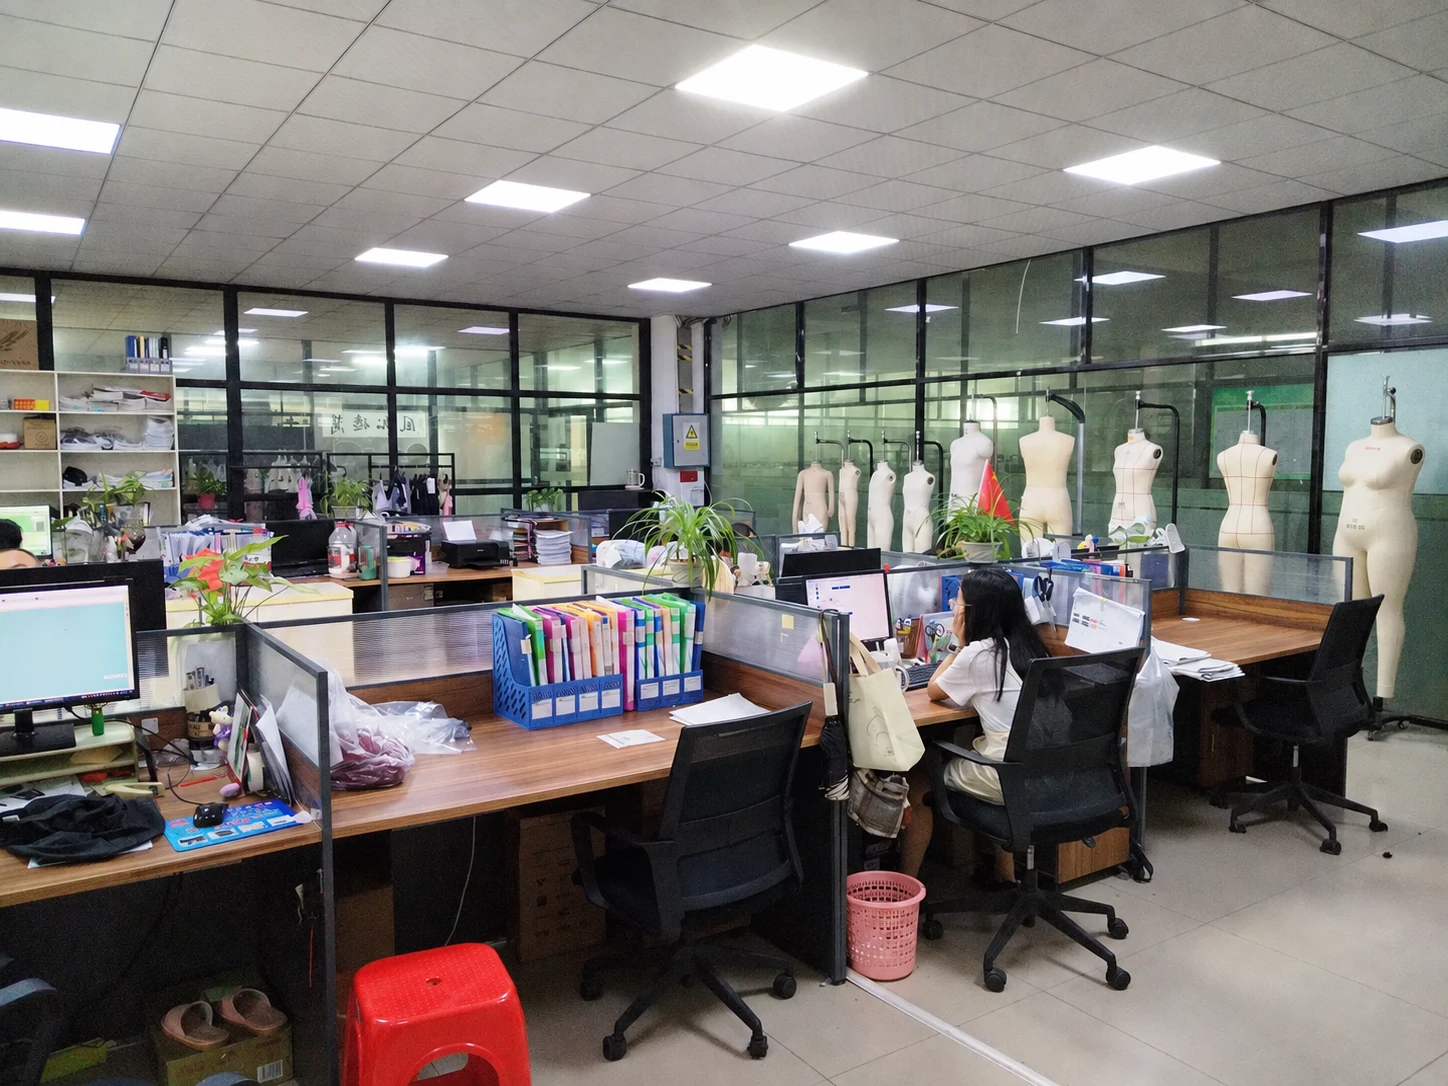
Sealed seam map
Identify all critical seams and tape requirements in the specification, with inspection access and curved-area tolerances.
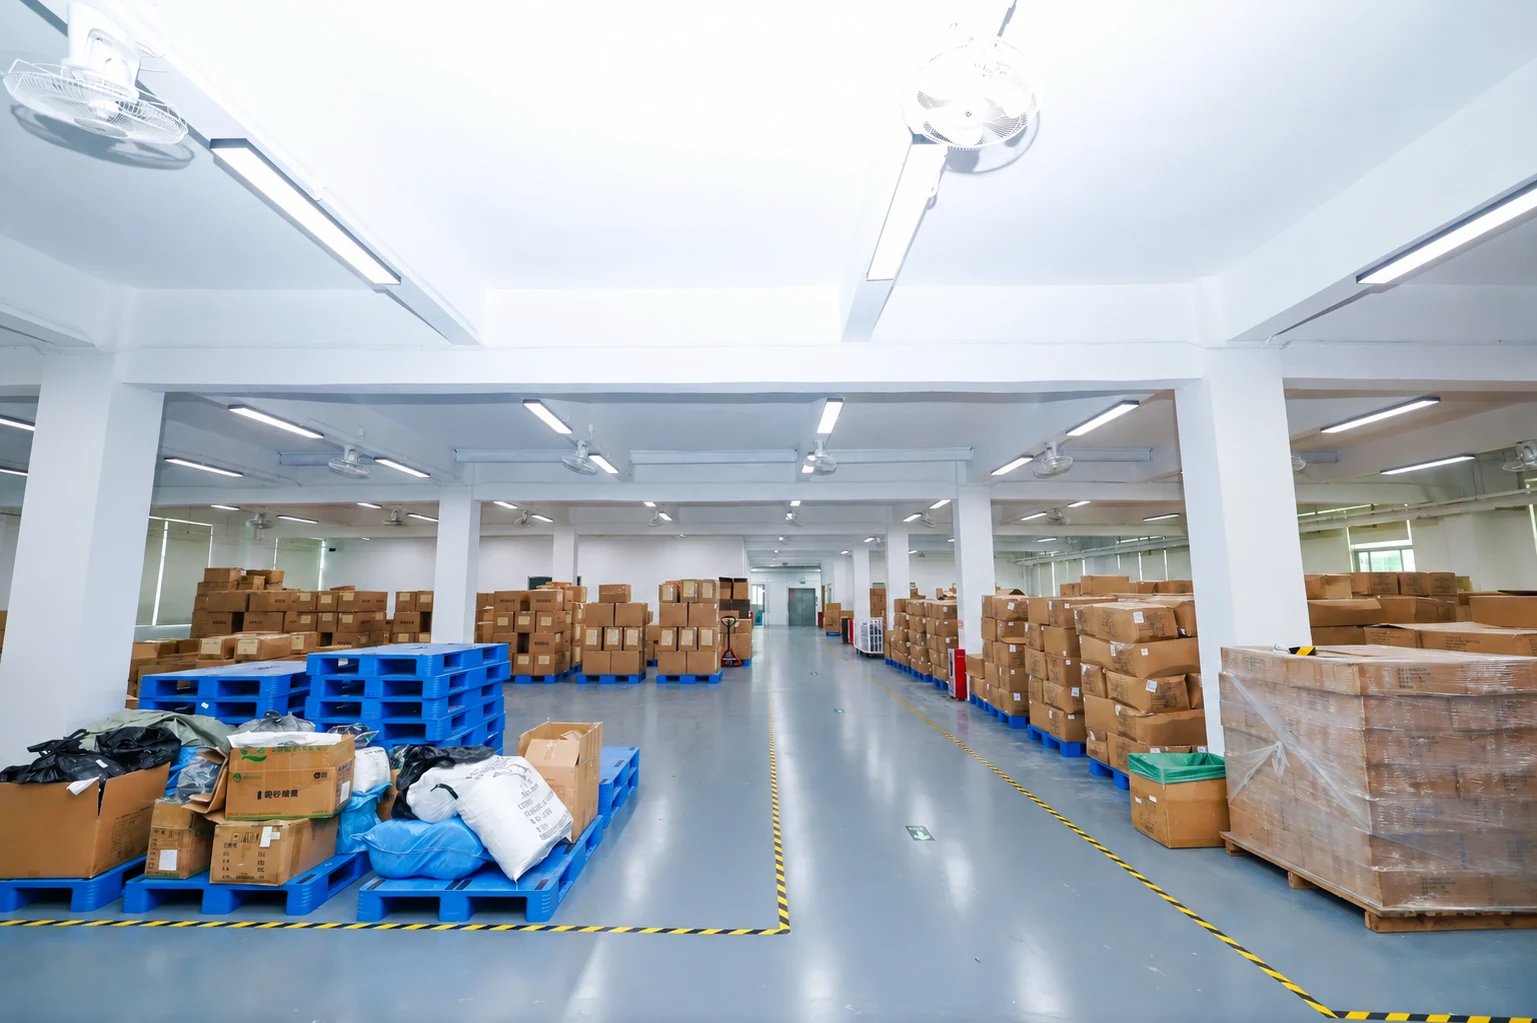
Carry this into approval Factory views show our working environment. Your garment follows its agreed specification and sample.GET THE
RIGHT FIT.
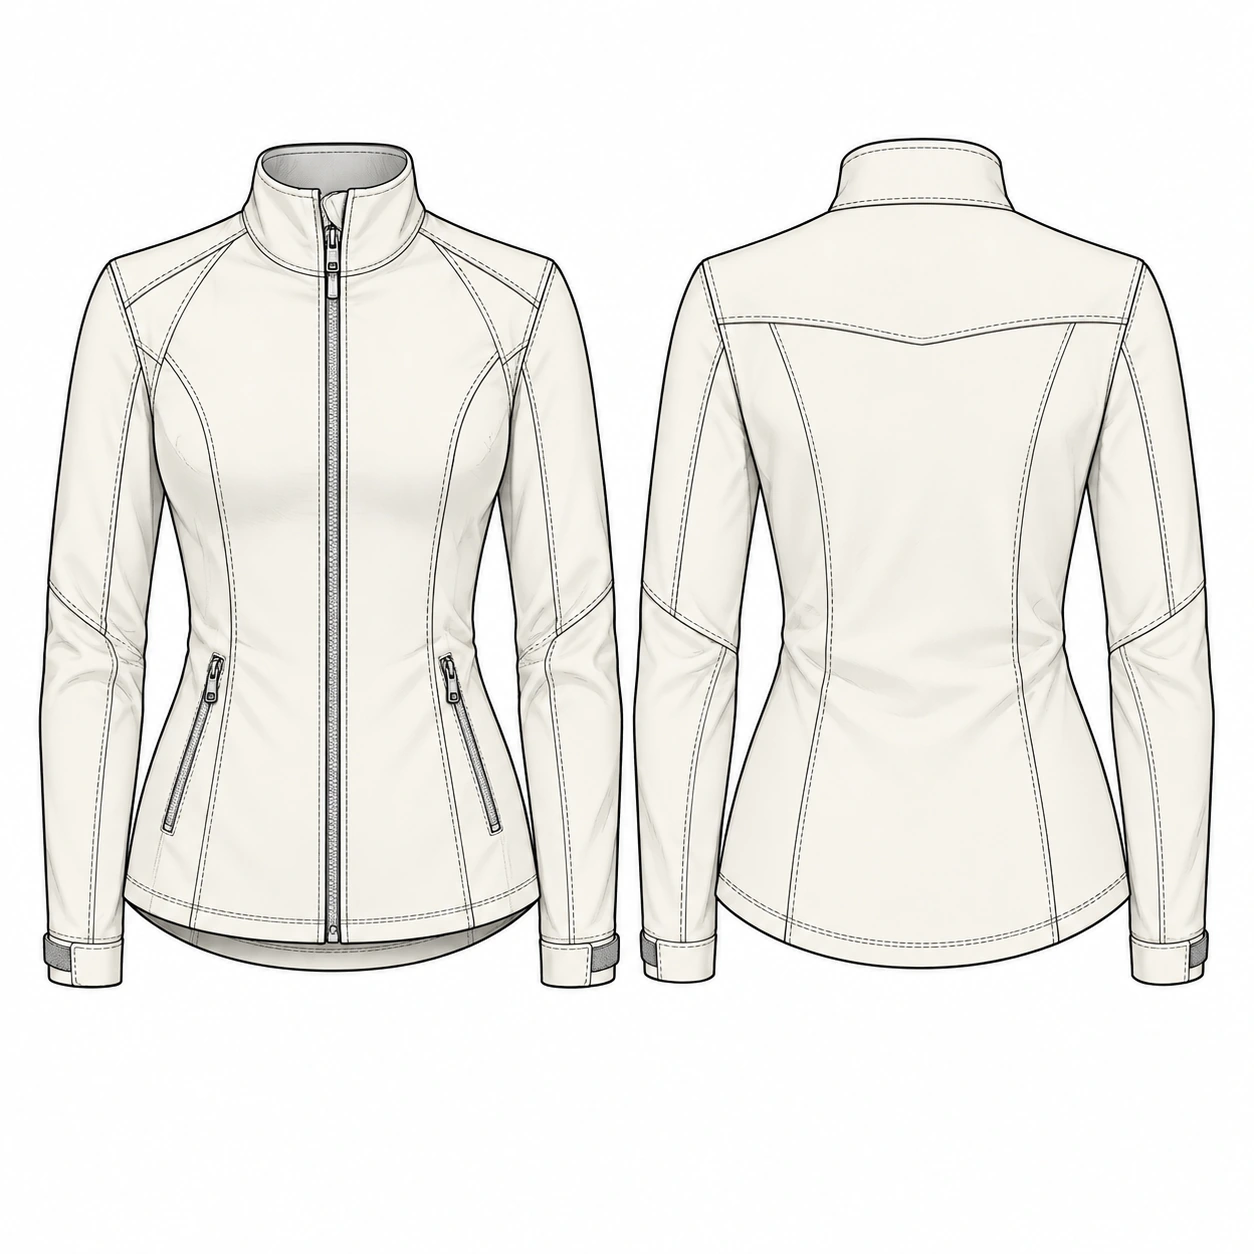
- AChest
- BShoulder span
- CSleeve length
- DBack length
A size label is only the beginning. Agree the measurement method, review the garment in use and keep the approved fit record with your specification.
Your fit-session checklist
Record the size worn, body measurements, intended underlayers and every proposed correction with the dated sample.
Note the size worn, body measurements, intended underlayers and each proposed correction. Recheck the affected measurement after a revision; confirm the size breakdown for each style and colour before bulk.
MAKE IT
RECOGNISABLY YOURS.
Use the product’s construction to guide decoration and finishing. Ask for placement, colour and material approval on the relevant sample.
Small details.
One identity.
Folded edges · fine weave
Textured stock · cord attachment
Raised edge · stitched placement
Material mockups with a live wordmark study. Print, weave, colour matching and placement are confirmed on your physical sample.
Vent strategy
Choose covered back vents, pit zips or pocket ventilation by weather target, ensuring each opening is included in water-entry review.
Helmet hood
Specify over-helmet, under-helmet or no helmet use, then define volume, peak, adjusters, stowage and safe cord management.
Visibility details
Use bright colours or reflective accents for design intent; substantiate performance statements about visibility with appropriate material and placement evidence.
Packability
If self-packing is desired, define pouch dimensions, closure and packed weight target, then test whether repeated stuffing damages tape, finish or zips.
APPROVE THE DETAIL.
THEN THE ORDER.
The first sample helps you make decisions. Define review conditions and acceptance criteria before you compare the result.
Review the lightweight rain riding shell sample
Sampling takes 7–10 working days from the agreed start. Record each decision against the dated sample before bulk approval.
Rider, material direction, measurements and artwork.
DEFINE THE STARTTurn the agreed direction into a garment to review.
7–10 WORKING DAYSReview fit, finish and changes. Confirm the final specification.
REVISE IF NEEDEDProceed with agreed quantities, colours, labels and packing.
30–45 WORKING DAYSA shared development direction
Bring reference garments, your rider profile, target colours and any artwork. We turn these into the measurements, materials and construction questions that the sample needs to resolve.
Sample feedback can return to development. Revisions and transit are planned separately; timing begins from the agreed specification and start date.
KEEP THE APPROVAL.
WITH THE ORDER.
One agreed reference for the workroom: the dated sample, its specification and your confirmed order breakdown.
Sample decisions
- Controlled rain test
Apply the agreed water method to complete garment, including seams and openings, recording entry locations and time rather than relying on fabric data.
- Mounted storm fit
Ride over the planned layers in wind or controlled movement, checking hem, hood, cuffs, zip, vents and back coverage.
- Seam-tape inspection
Inspect all taped routes inside out for adhesion, bubbles, skipped areas and edge lift before and after care.
Style, colour & size allocation
Confirm each style and colour separately, with the size allocation attached. The minimum is 100 pieces per style, per colour.
Labels, packing & timing
Agree label artwork, packing instructions and the production start. Bulk production takes 30–45 working days from the confirmed start; revisions and transit are planned separately.
A CLEARER BRIEF.
A MORE USEFUL QUOTE.
Price follows an agreed product, quantity and delivery scope. Use these inputs to compare proposals on the same basis.
Shell and membrane
Material rating, stretch, finish, custom colour and documentation strongly influence fabric cost and minimums.
Seam sealing
Tape, machinery setup, complex seam routes and full inspection add process time and cost.
Weather zips
Coated or protected two-way zips, garages and pocket closures are costlier components.
Vent and hood systems
Pit zips, covered vents, peaks, adjusters and stowage add pieces and operations.
Bring these six things
Planning baseline: 100 pieces minimum per style, per colour. Sampling takes 7–10 working days; bulk production takes 30–45 working days from the agreed start.
100 pieces minimum per style, per colour. State each colour quantity separately; confirm your proposed size allocation.
GOOD QUESTIONS.
BETTER DECISIONS.
Product-specific sourcing questions to resolve before sampling.
No. Stitch holes, zips, pockets, vents, hood and hems can admit water. Define the whole-garment target and test method, then evaluate the completed sample. Publish only the level supported by relevant evidence.
A dropped back can cover the waistband when the rider leans forward, but excessive length may sit on the saddle. Set it mounted in the intended saddle and check vents, hem drawcord and coat layers together.
Yes as a development option, but embroidery punctures the shell and transfers interact with coatings and heat. Sample the exact method and location, then reassess relevant weather and care performance before approving the claim.